Knowledge base
CallPage: callback widget for your website
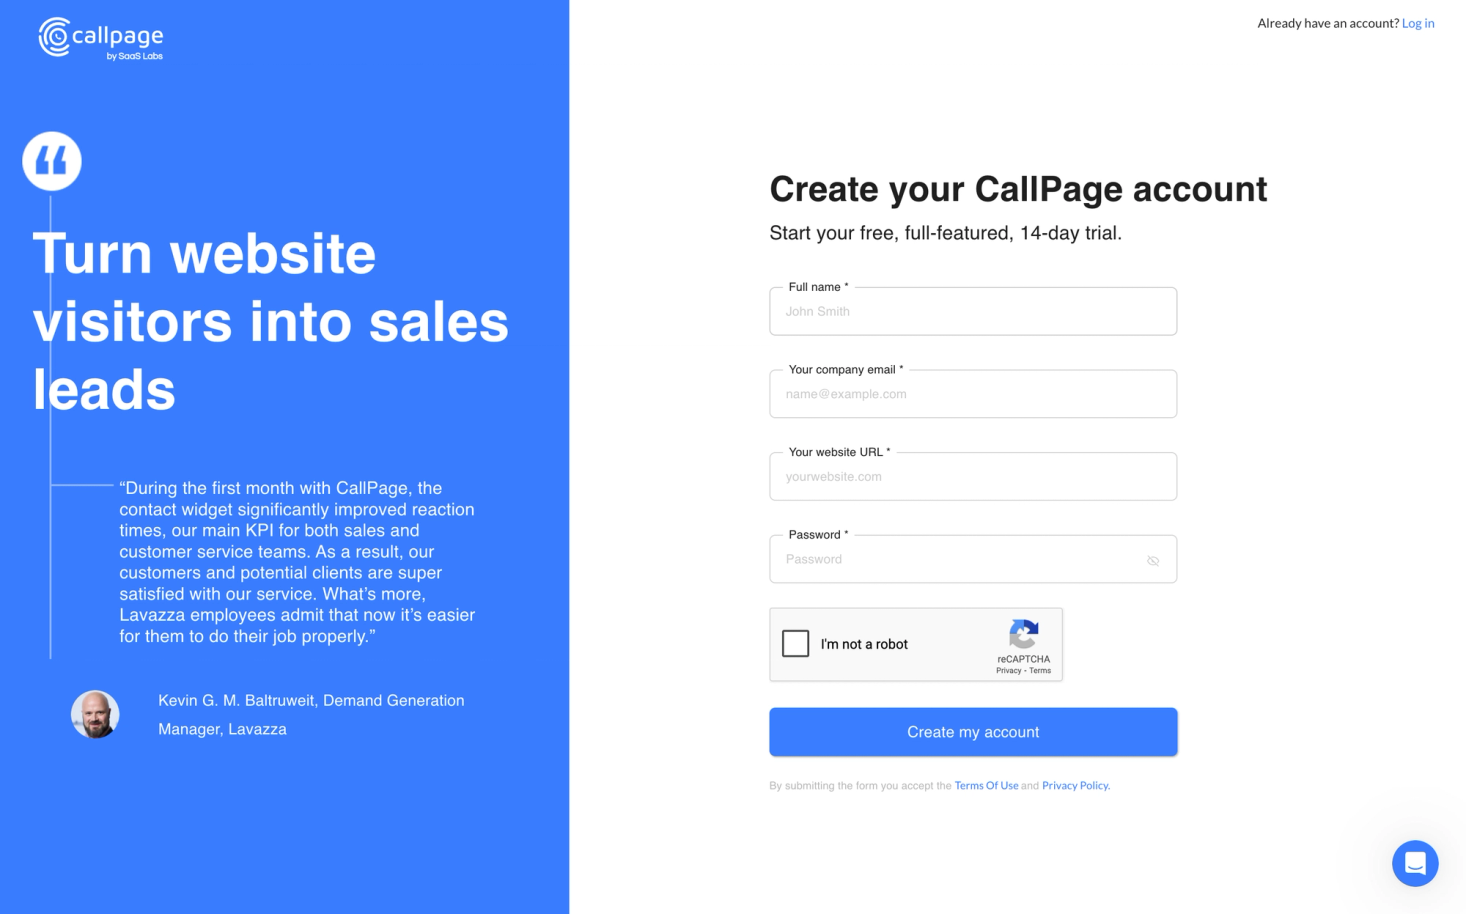
To get started with the platform, visit the callpage.io website and sign up to create account in their system. You will need to enter your name, email, website and come up with a password.
Once you get inside, you might need to enter some more details about your business. The service will only let you use it for calls after the full verification of email and phone number. Once you are in the CallPage dashboard, follow these steps to install their callback widget on your 🌱kvitly website:
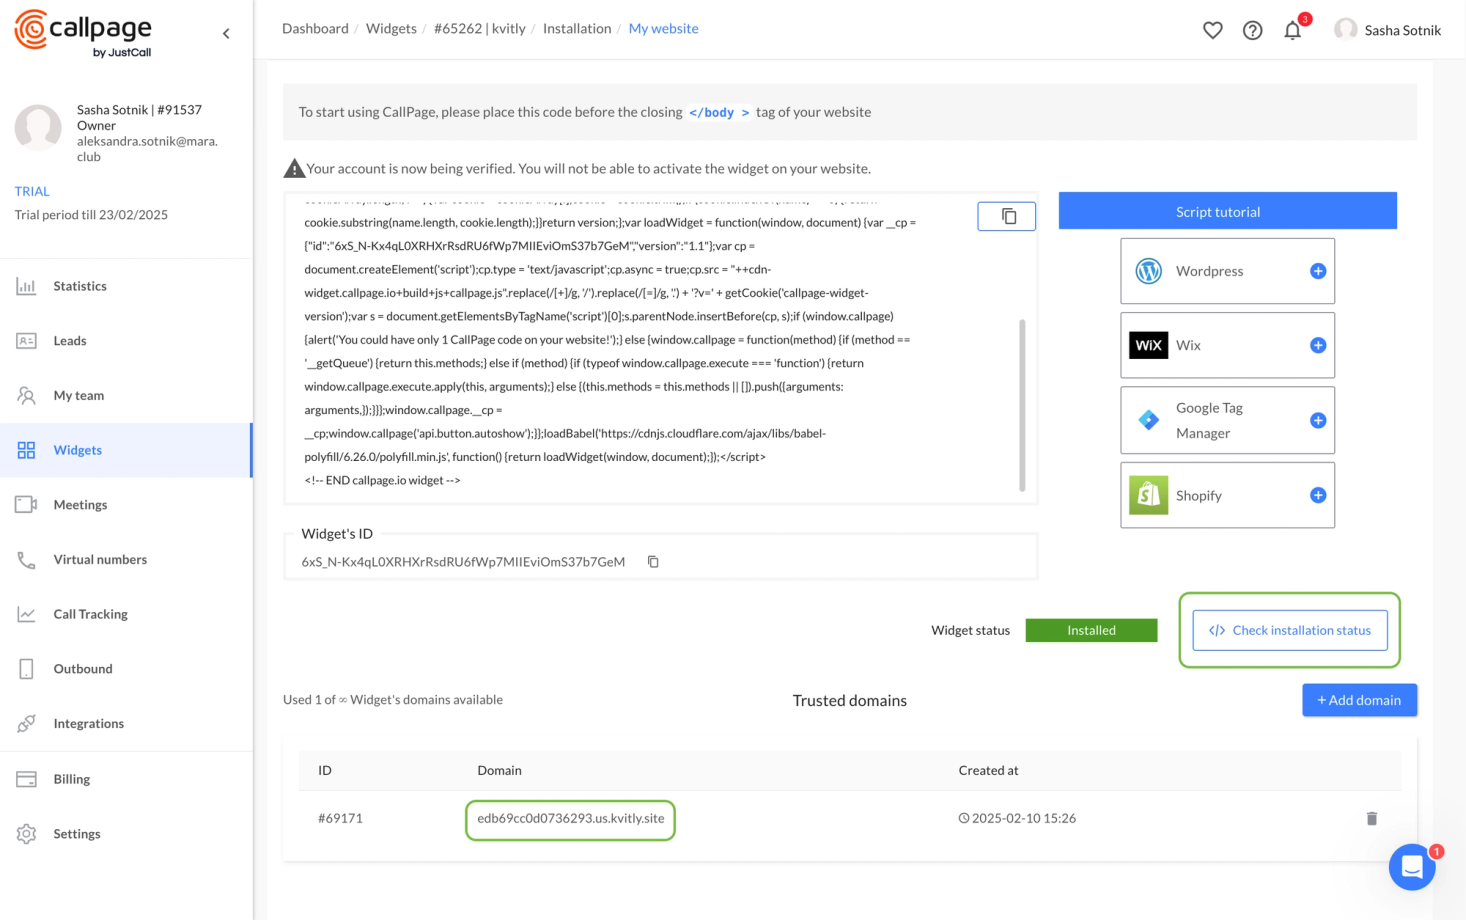
1. In CallPage system navigate to Widgets in the left-side menu, select the widget you want to use (it can be the existing one or you might want to create a new one) and find go to tab Installation.
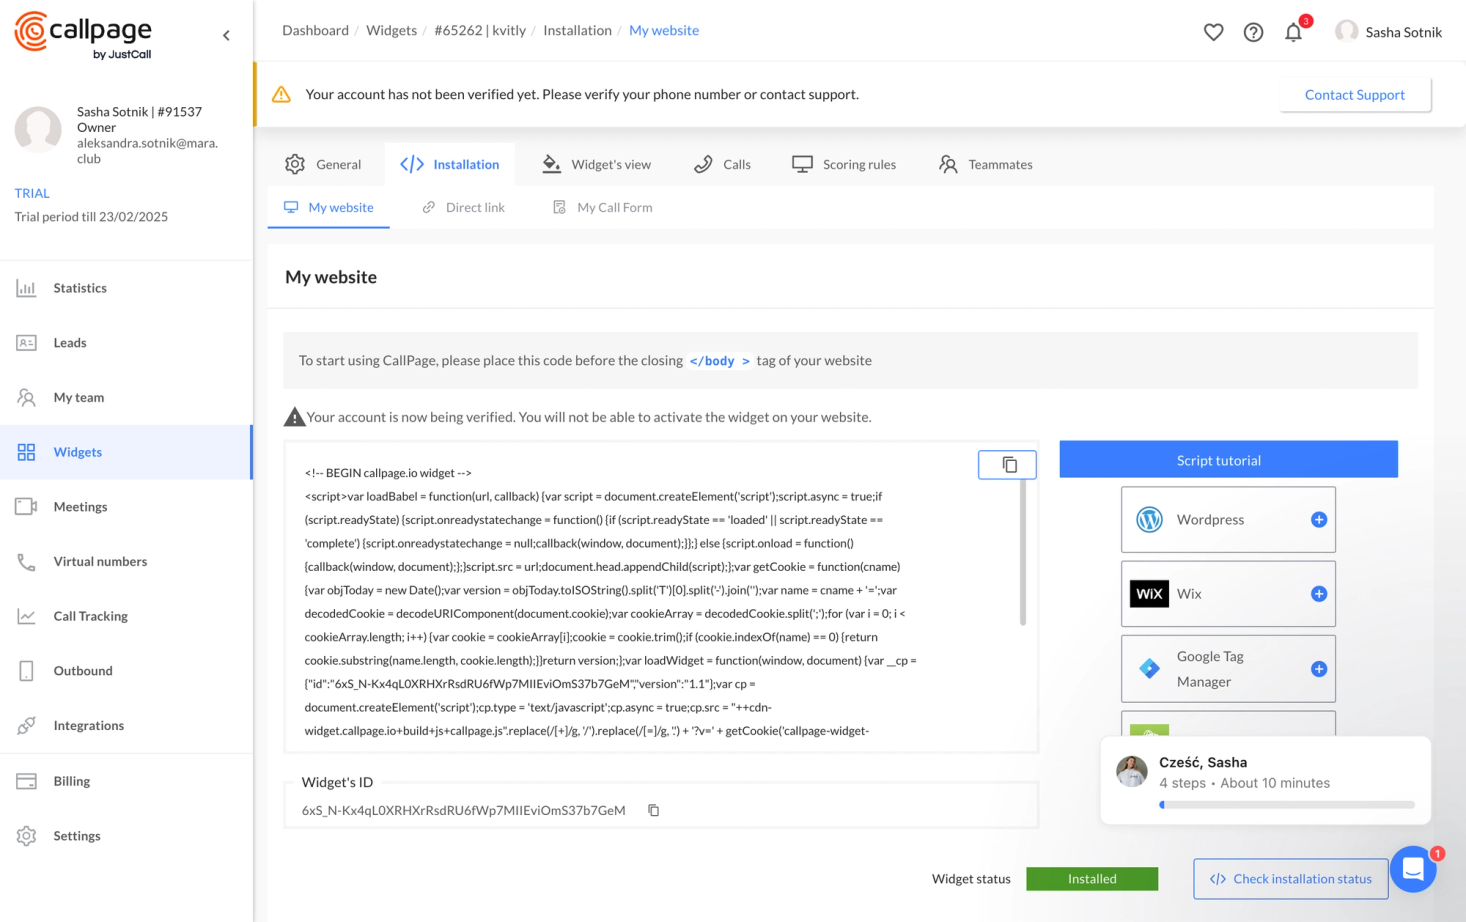
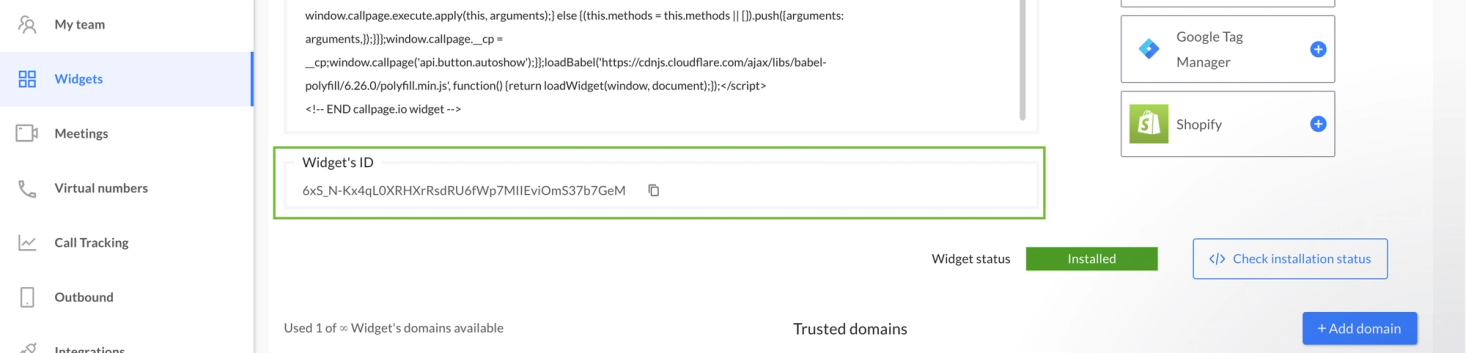
2. Below the installation code you will see the field called Widget’s ID. That’s what we need, copy it.
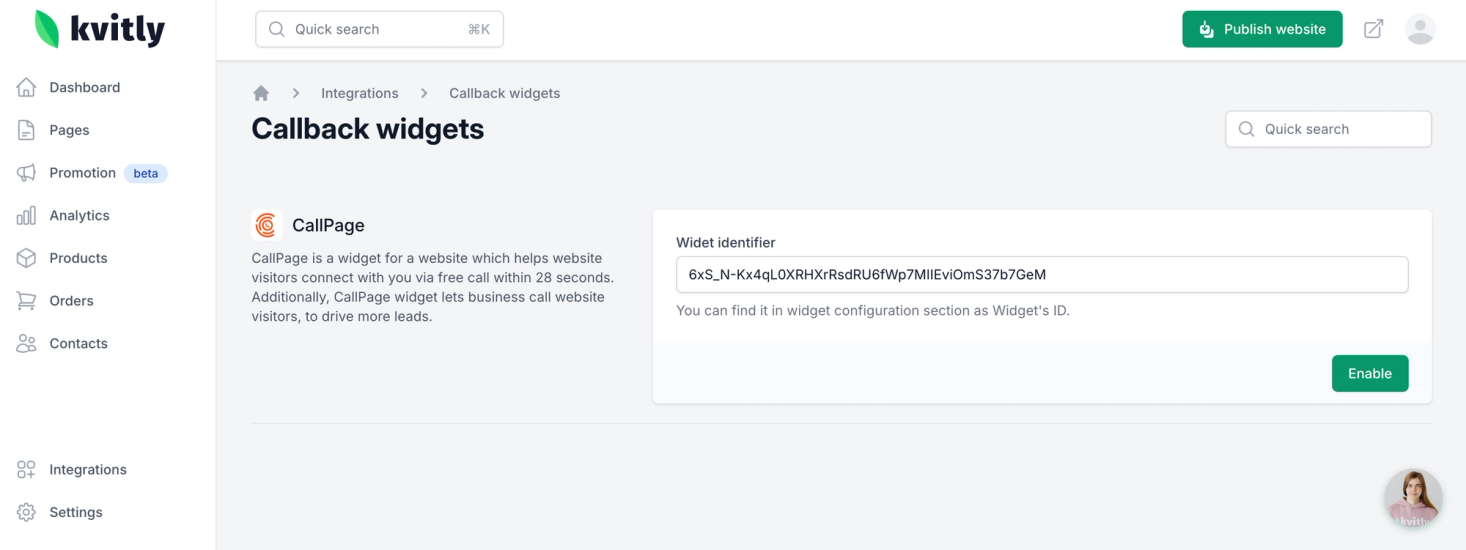
3. Go to your 🌱kvitly Dashboard and navigate to Integrations → Callback widgets.
4. Find there CallPage integration, add the Widget’s ID you copied to the Identifier field and click on Enable.
5. Publish your website to apply the changes.
Once enabled, you will see the prompt for online booking on your website. You can configure the widget appearance and behaviour within the CallPage system.
Note, that the widget might not show up immediately. For it to work your account needs to be fully verified within the CallPage system. Also, make sure that your website’s address is added to the list of trusted domains for this widget.
To make sure that the widget is installed properly, you can verify it’s installation by clicking on Check installation status button in the widget setting in CallPage. If everything is ok, you will see a notification that the widget has been installed correctly.
Still have questions?
Feel free to contact us via chat on our website. We’re online weekdays from 10 AM to 6 PM CET.
Wanna talk to a person?