Knowledge base
Google Analytics: advanced visitor tracker
To connect Google Analytics to your website, you’ll need a tracking code. You can find it in your Google Analytics account, where you’ll also be able to view detailed visitor statistics in the future.

Follow these steps to enable Google Analytics for your website:
1. Visit the Google Analytics homepage and click the “Get started today” button located at the top-right corner or in the center of the homepage.
2. Sign in with your Google account or create a new one if needed.
3. Once logged in, click the “Set up for free” button to begin creating your data stream.
4. Fill in the required fields as prompted.
5. Agree to Google’s Terms of Service.
6. In the next screen, select “Web” as the source for your analytics and enter your website address in the provided field.
7. After completing the setup, you’ll see the “Web Stream Details” window. Locate the Tracking ID, which appears in the format G-XXXXXXXX, and copy it.
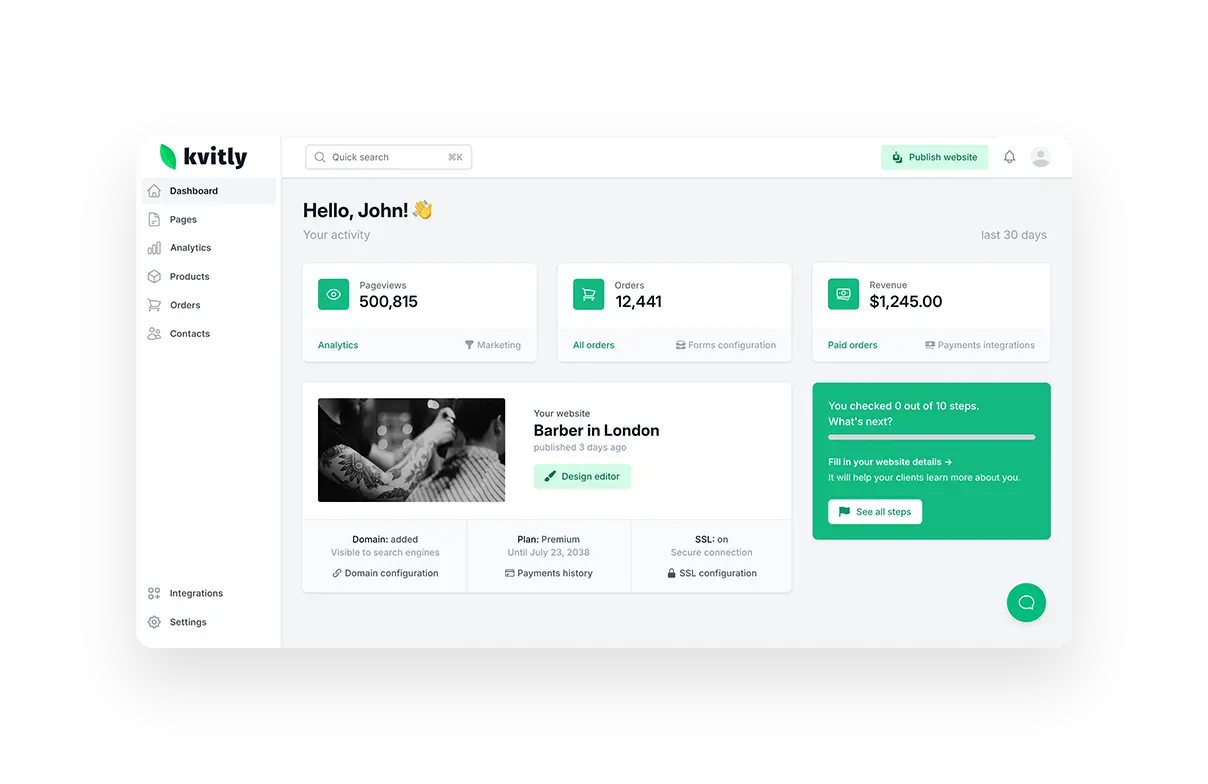
8. In your 🌱kvitly website’s Dashboard, go to the Integrations → Visits Counters section and scroll to Google Analytics.
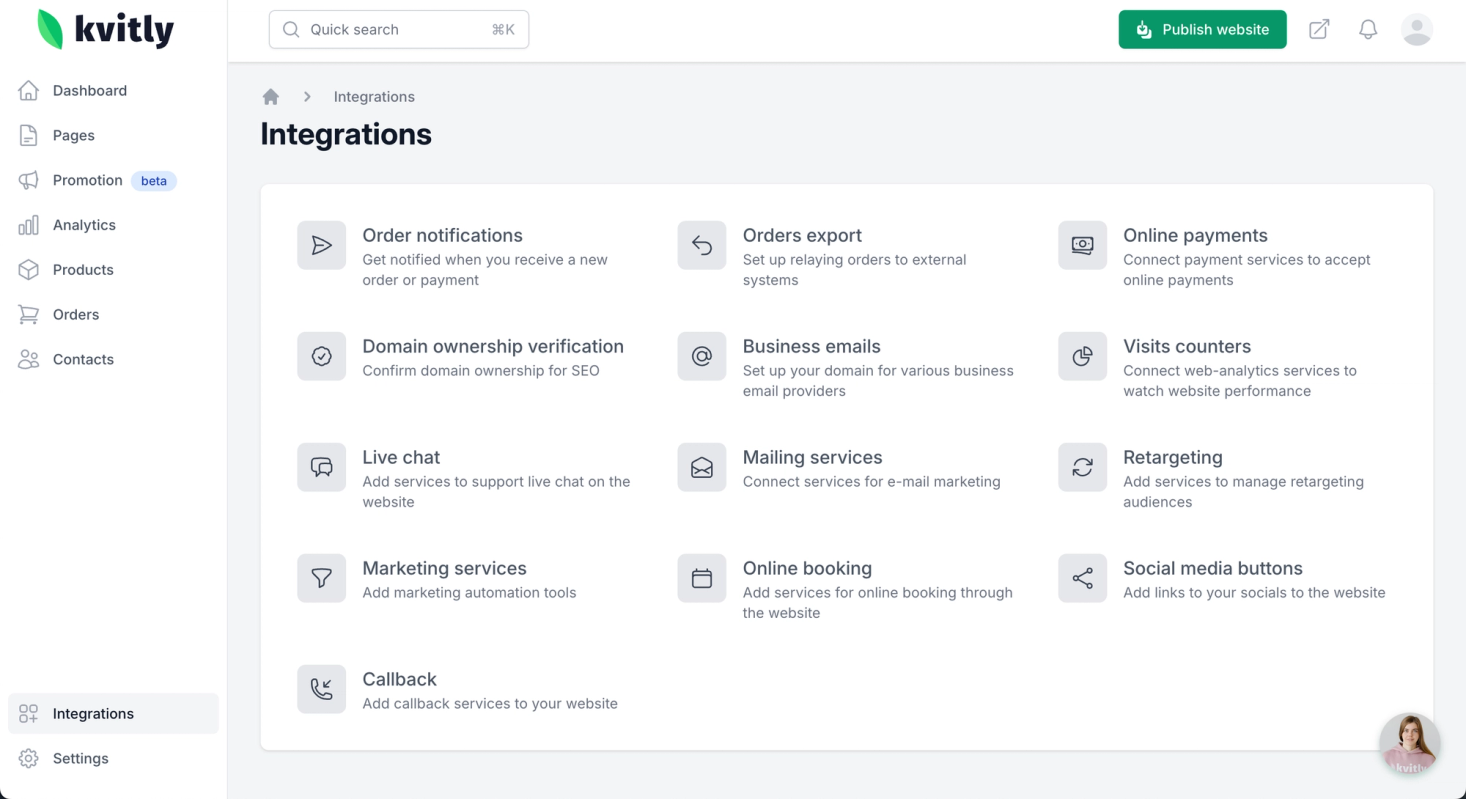
9. In the Identifier field enter the counter code you copied before and click on the Enable button.

Once the integration is enabled and the website is published, you can monitor your website’s visitor statistics directly in your Google Analytics account.
Still have questions?
Feel free to contact us via chat on our website. We’re online weekdays from 10 AM to 6 PM CET.
Wanna talk to a person?