Knowledge base
Google Sheets: setting up automated order export
You can set up integration with Google Sheets, so that all the orders that you get will be automatically added to a spreadsheet.
Step by step instructions:
1. Create a New Google Sheet. To do so, go to Google Drive and ensure you’re signed in.
2. Click Create → Google Sheets → Blank spreadsheet.
3. Once the sheet is created, click the Share button in the top-right corner. You need to share the spreadsheet with 🌱kvitly account, so that we can access it.
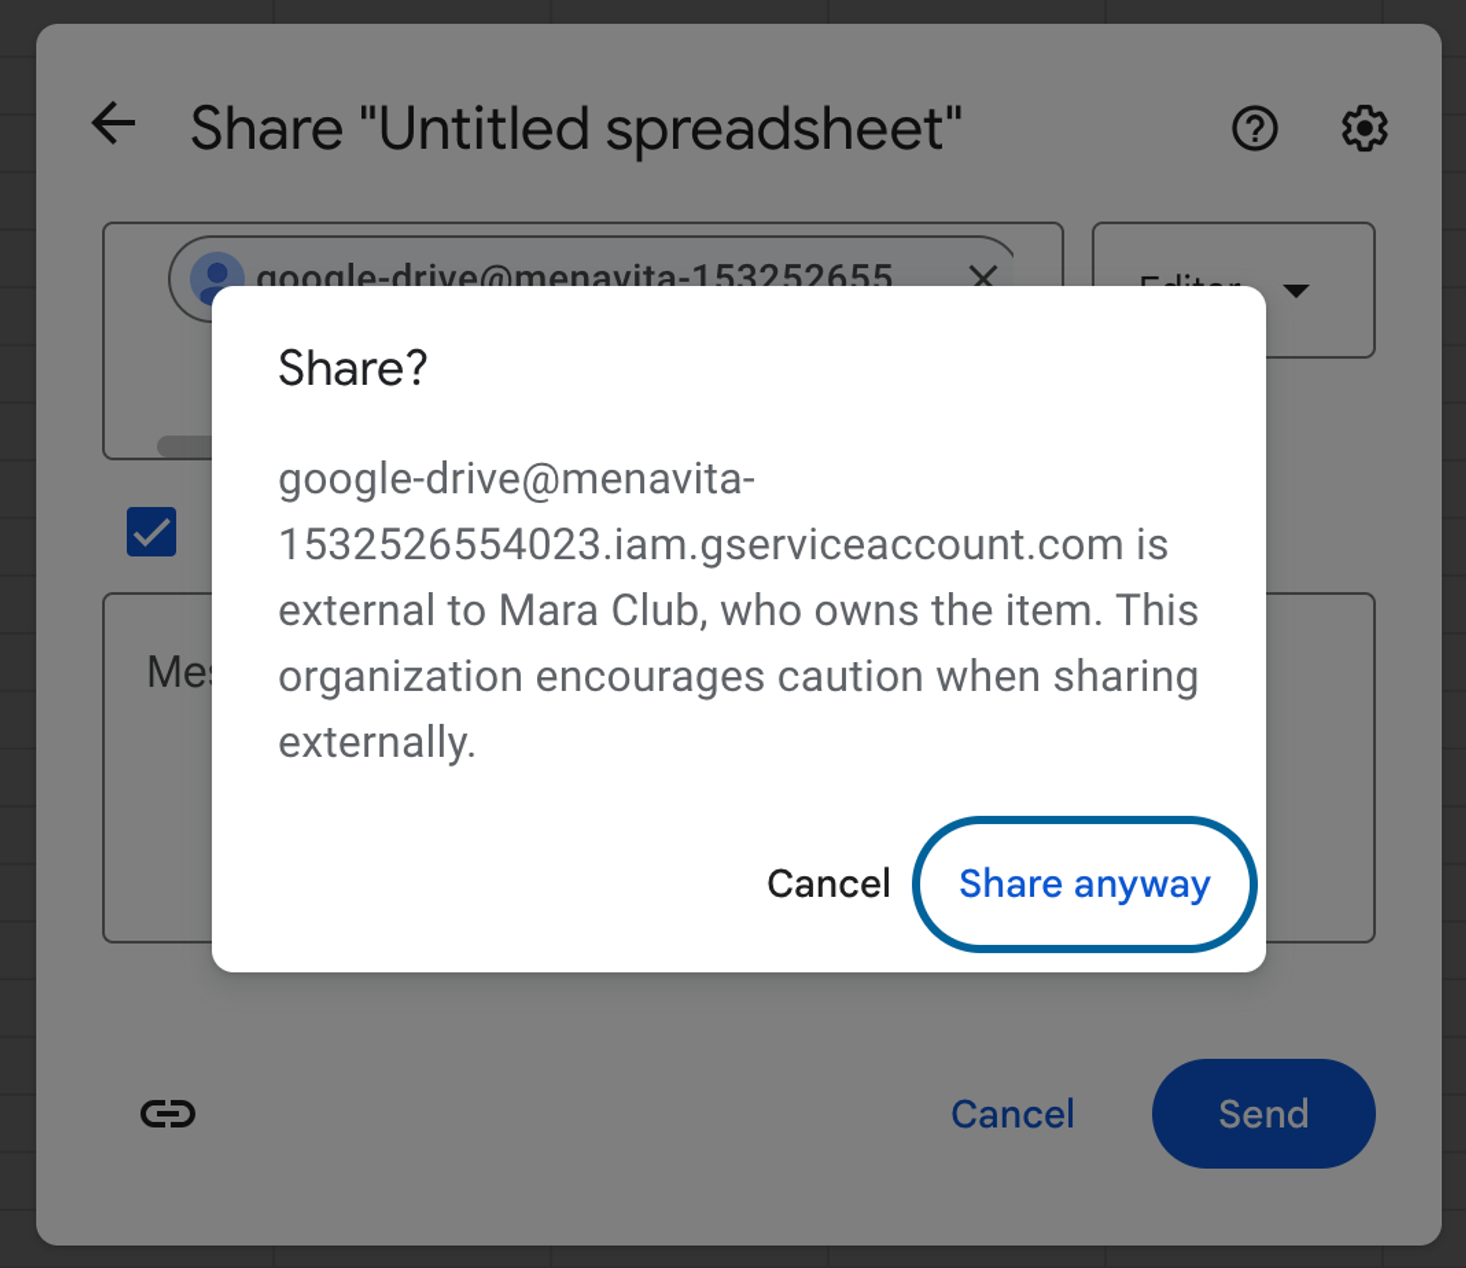
4. In the People field, add: google-drive@menavita-1532526554023.iam.gserviceaccount.com.
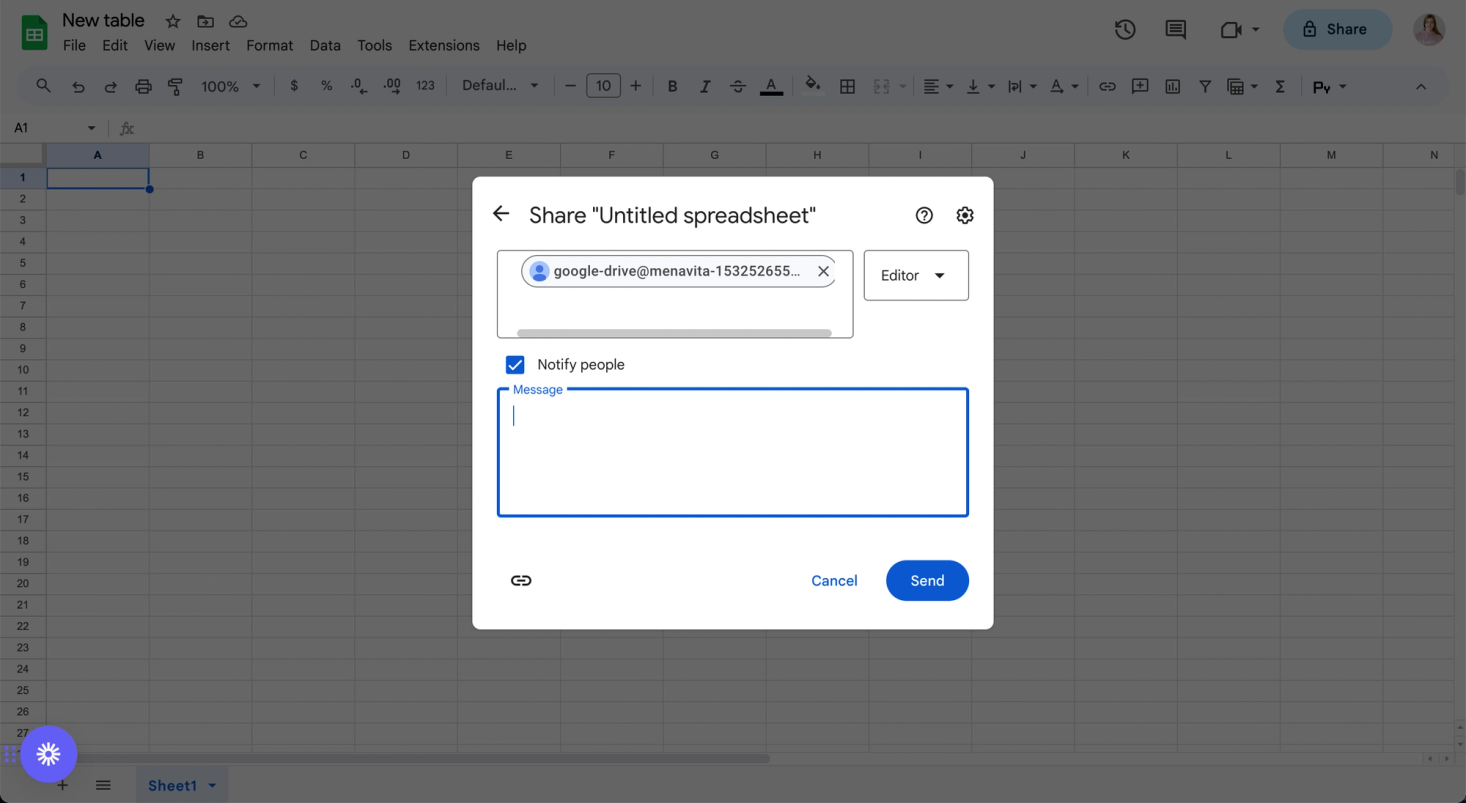
5. Click Send.
6. Then find the browser URL field and copy the sheet’s identifier from the URL: https://docs.google.com/spreadsheets/d/identifier/edit.

7. In your 🌱kvitly Dashboard navigate to Integrations → Orders Export and find the Google Sheets extension.
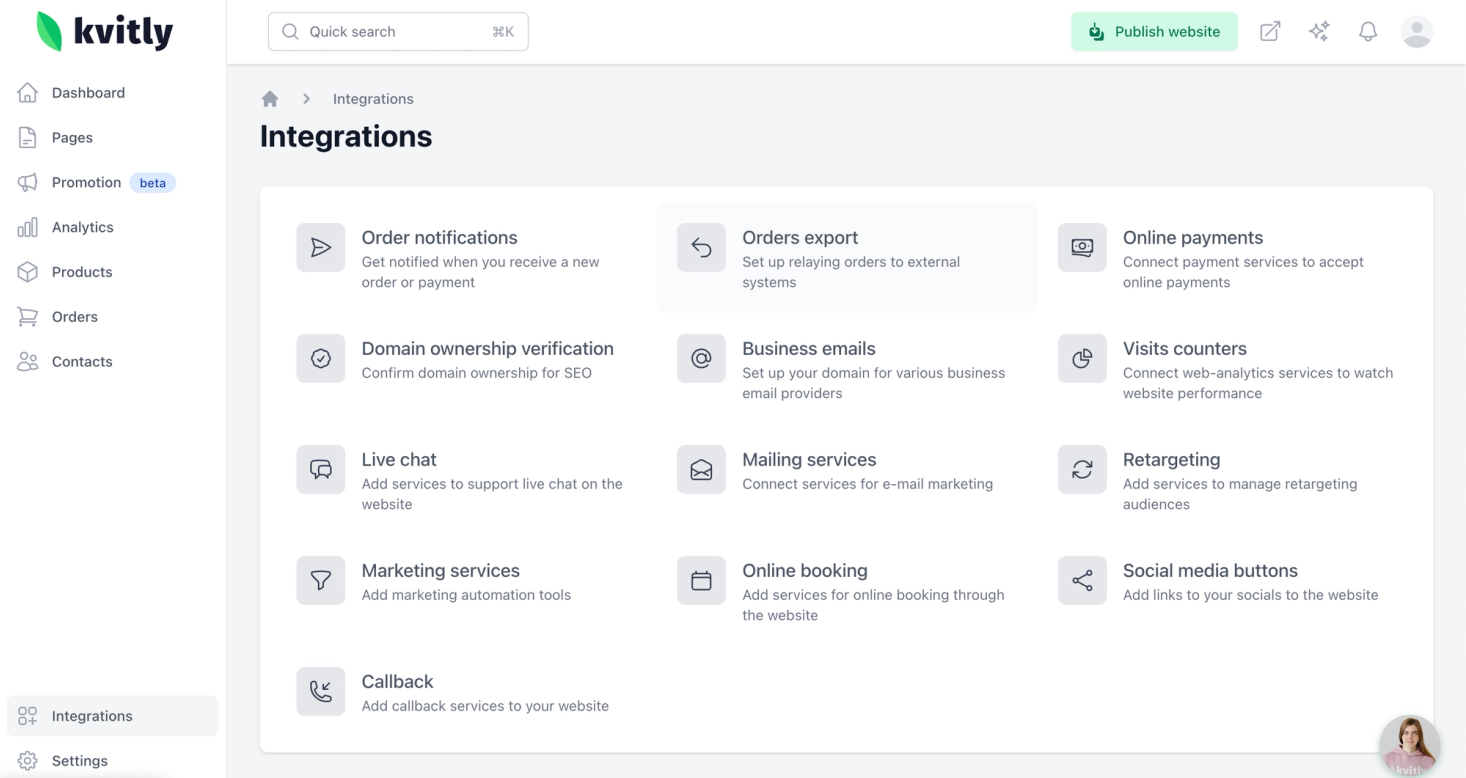
8. Click Add new spreadsheet.

9. Enter the following details: Title (choose a title for the integration for internal use) and Spreadsheet identifier (paste the copied identifier).
10. Click on Enable button.
Once you’ve configured the integration, turn on the export in the corresponding form automations settings. To do so, please follow these steps:
1. In your 🌱kvitly Dashboard navigate to the Settings → Forms section and select the form where you want to enable export to Google Sheets or create new form.
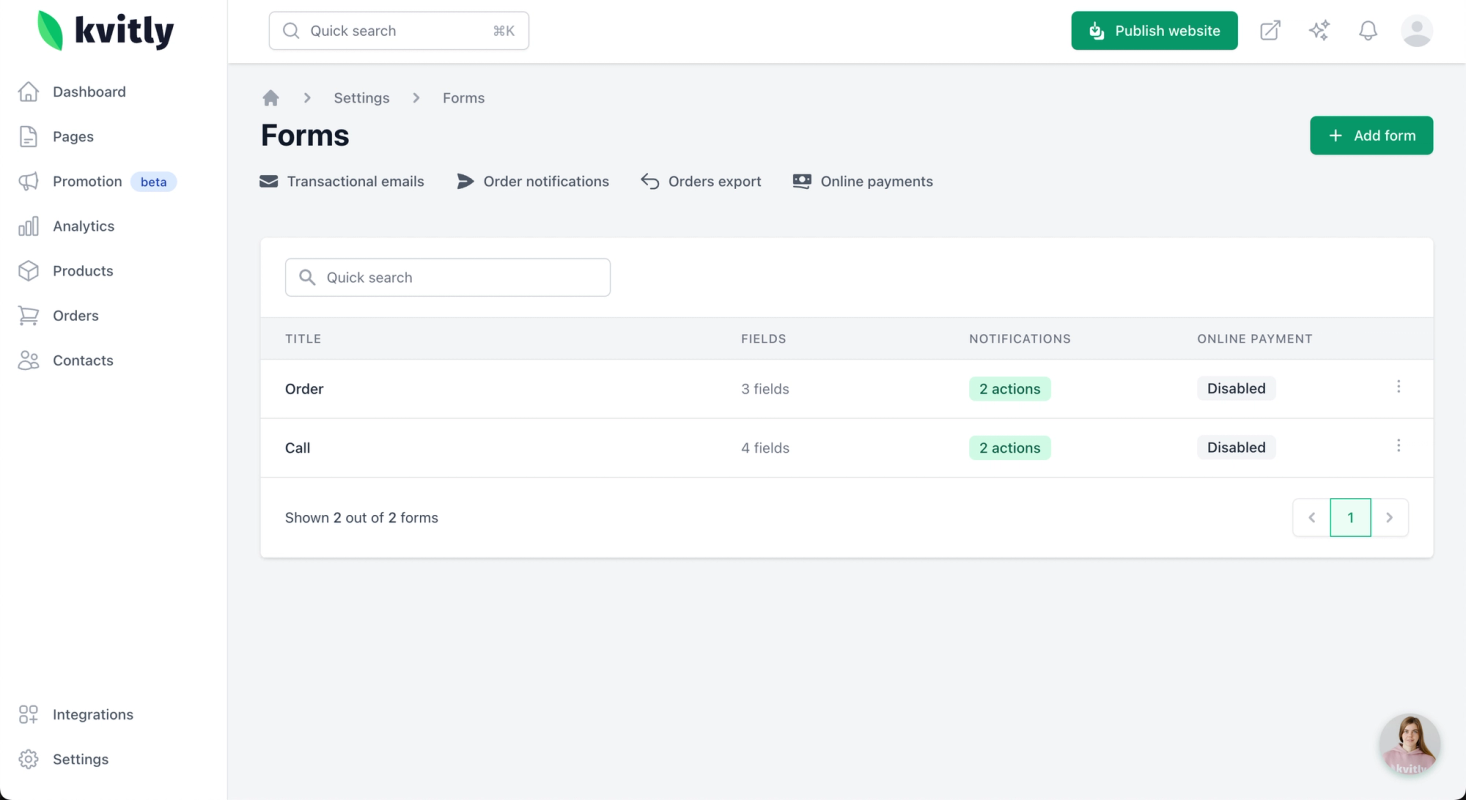
2. Switch to the Automations tab and configure notifications as needed. You can enable notifications (click on the corresponding checkboxes) for actions like After order placement or After payment.
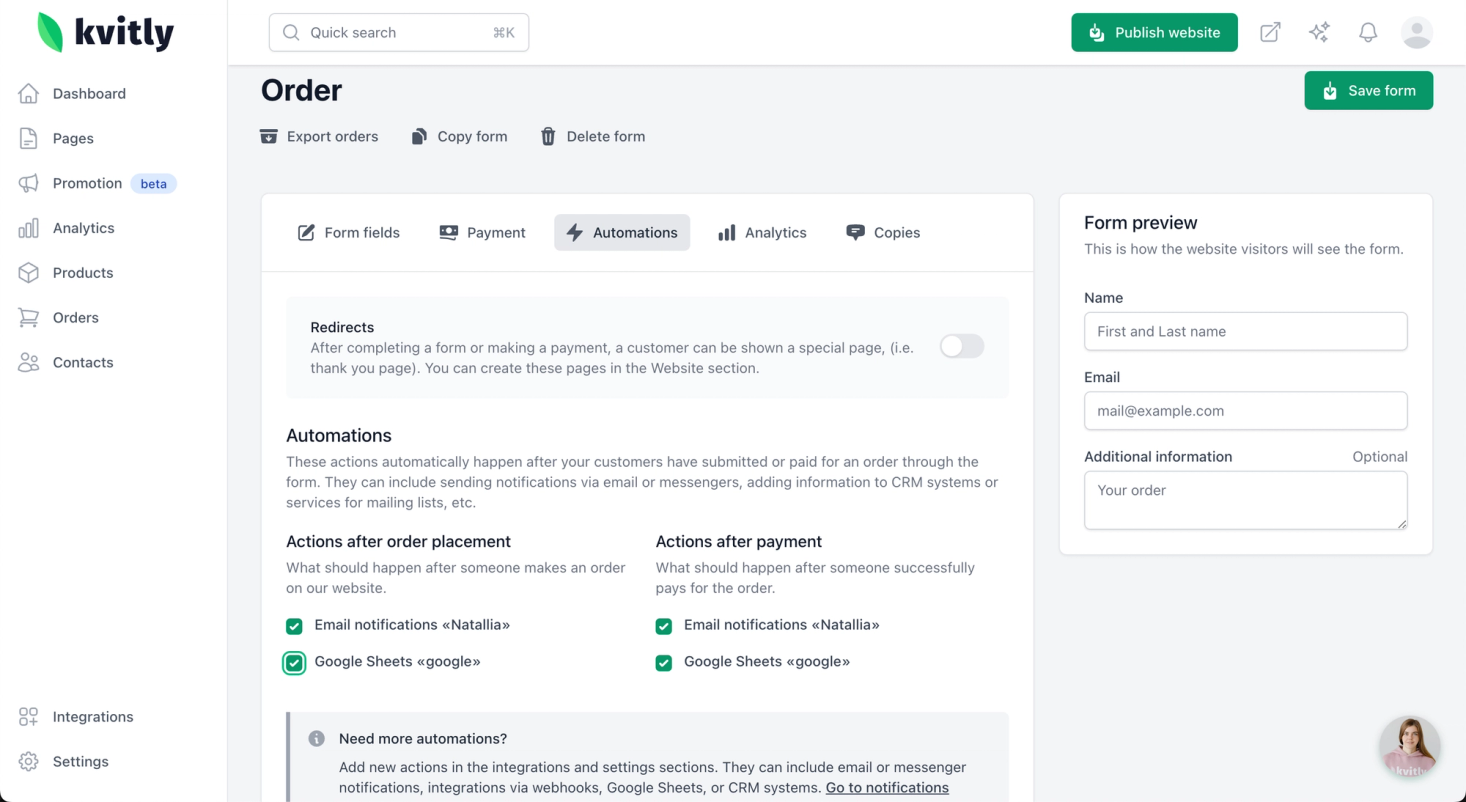
3. Save the changes and test your setup.
Your setup is now complete!
When an order is placed, a new sheet with the form’s name will be created in your Google Sheet and the order will be added as a new row on this page. The system will add all the fields from the order as columns. So, each form will have its own page with the list of orders placed after the integration was enabled.
Avoid using special characters (e.g., colons) in form names, as this may cause errors. For example, “Order: Online Course” will throw an error, while “Order.Online.Course” will work.
If payment integration is enabled, details of the order’s payment status will also appear in the spreadsheet.
Still have questions?
Feel free to contact us via chat on our website. We’re online weekdays from 10 AM to 6 PM CET.
Wanna talk to a person?