Knowledge base
How to add Meta pixel to your website
Meta Pixel is an analytics tool that helps measure the effectiveness of your ads. It allows you to track user actions on your website and target the right audience with relevant ads.
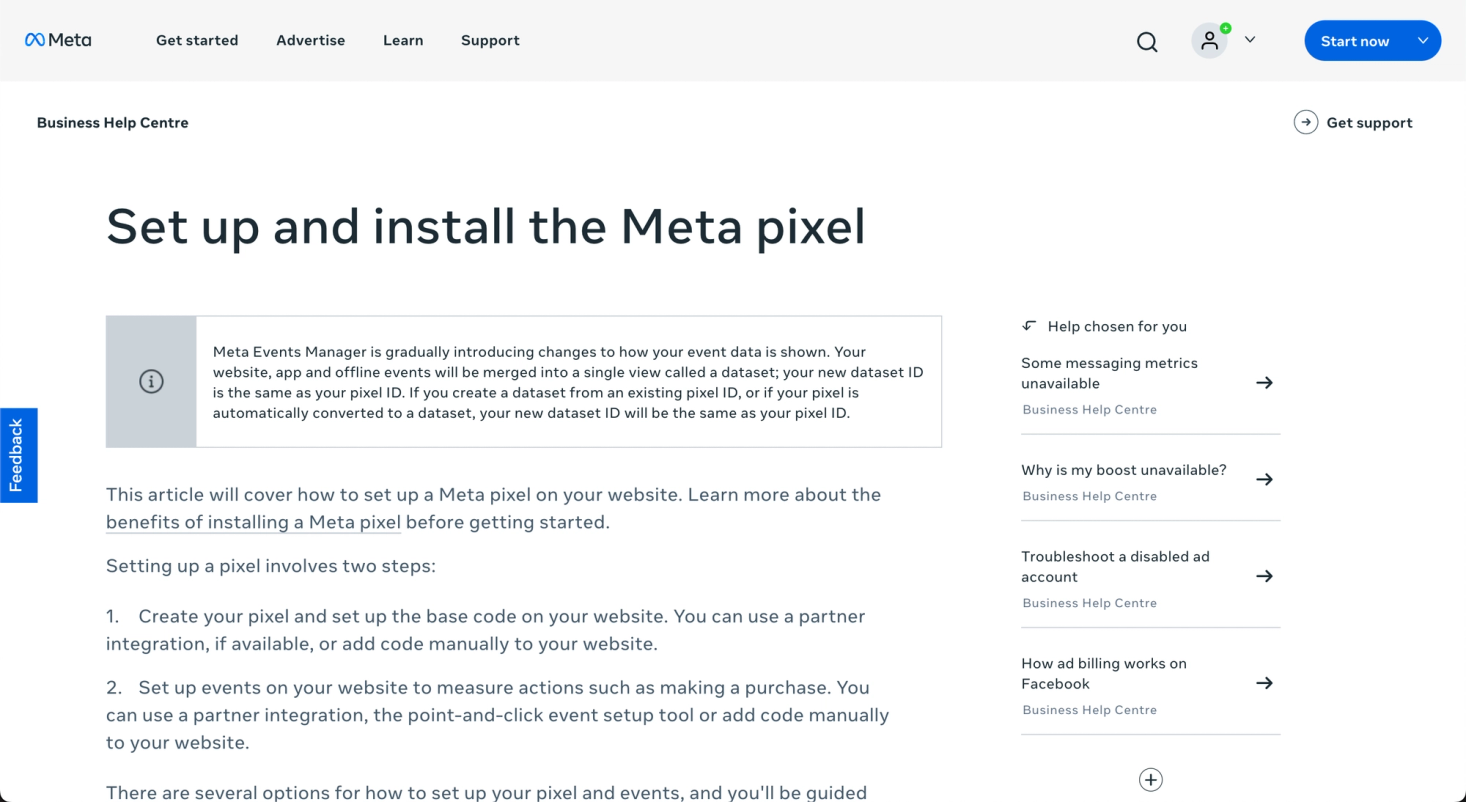
To set up your Meta pixel, you need to have Business account in Meta ecosystem, and once you register there, you will be able to get the pixel installation code. You can learn more about this on Facebook Help Center: https://www.facebook.com/business/help/651294705016616. Use these guides to setup your pixel: https://www.facebook.com/business/m/pixel-setup-get-started.
Few things about the configuration:
1. When you select the data source, select Web.
2. Your pixel name can be anything.
3. When you need to select a Setup option, select Meta pixel only.
Once you see the pixel ID, copy it.
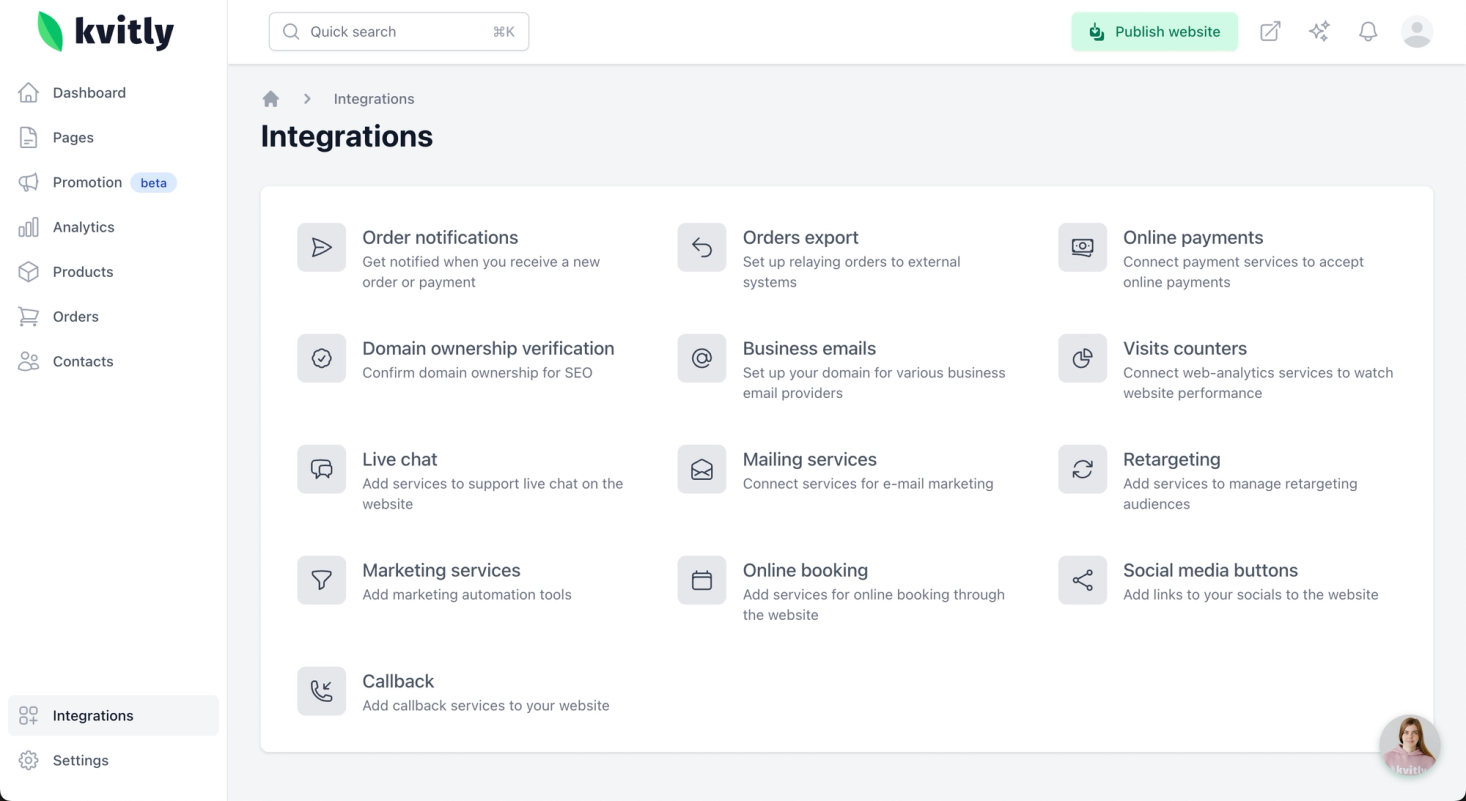
To enable Meta pixel on your 🌱kvitly website, follow these steps:
1. In your 🌱kvitly Dashboard navigate to Integrations → Retargeting and find there Meta pixel.
2. In the Identifier field paste the ID of the pixel that you copied earlier.
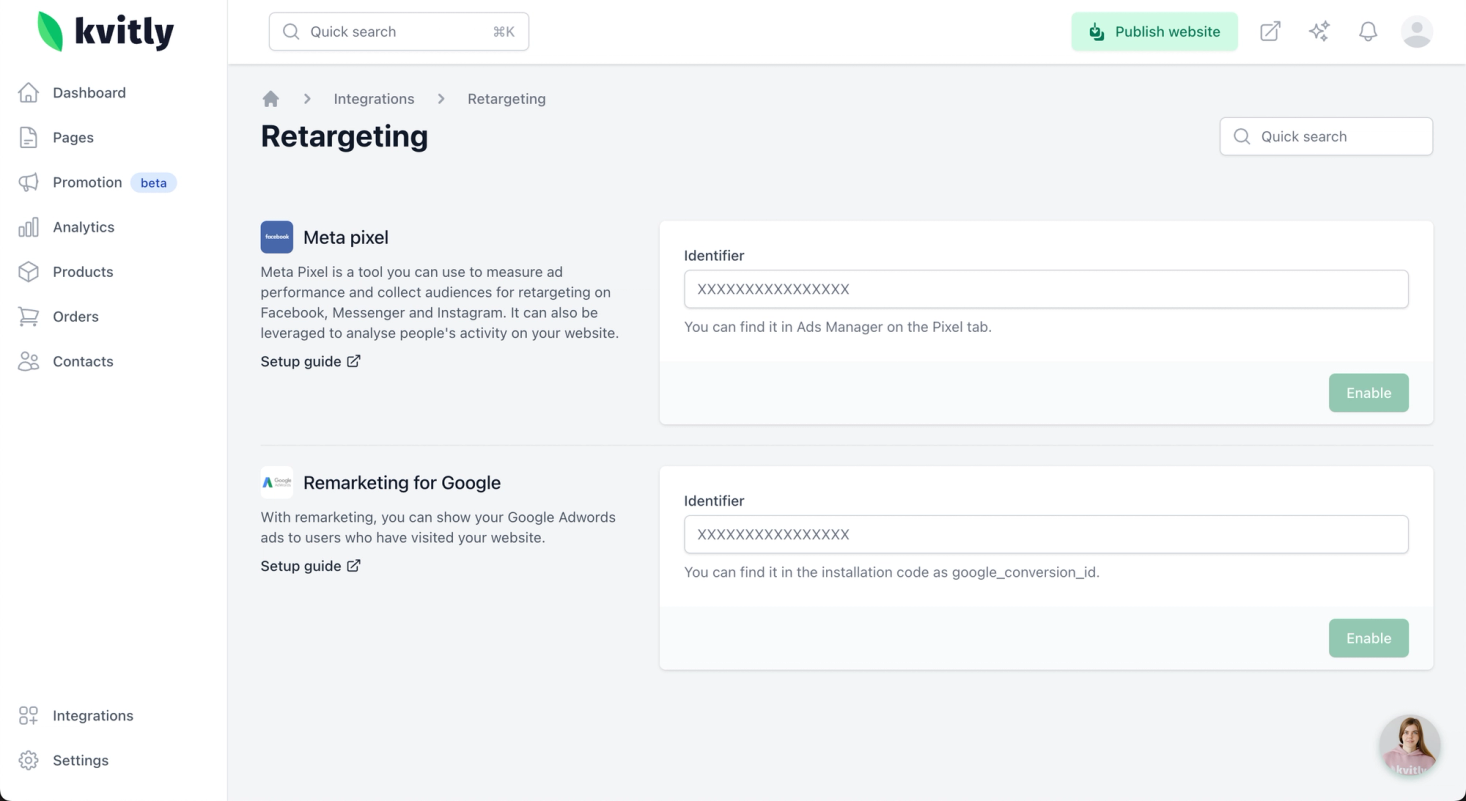
3. Click on Enable button and publish your website.
That’s it! You’ve successfully added Meta Pixel to your website, allowing you to better track ad performance and optimize your marketing strategy.
Still have questions?
Feel free to contact us via chat on our website. We’re online weekdays from 10 AM to 6 PM CET.
Wanna talk to a person?