Knowledge base
SendGrid: setting up customer email notifications
SendGrid is a robust platform for creating marketing campaigns and sending transactional emails. To fully integrate with SendGrid, you’ll need to add two extensions:
- SendGrid email: sends templated emails to your customers on trigger
- SendGrid Subscription: adds customer’s email to a mailing list
This article covers setting up a SendGrid email that can be sent to your customer once that make an order or payment on your website. Follow the steps below to set up order confirmation emails for your customers.
Step 1: Create a SendGrid Account
1. Register for a SendGrid account
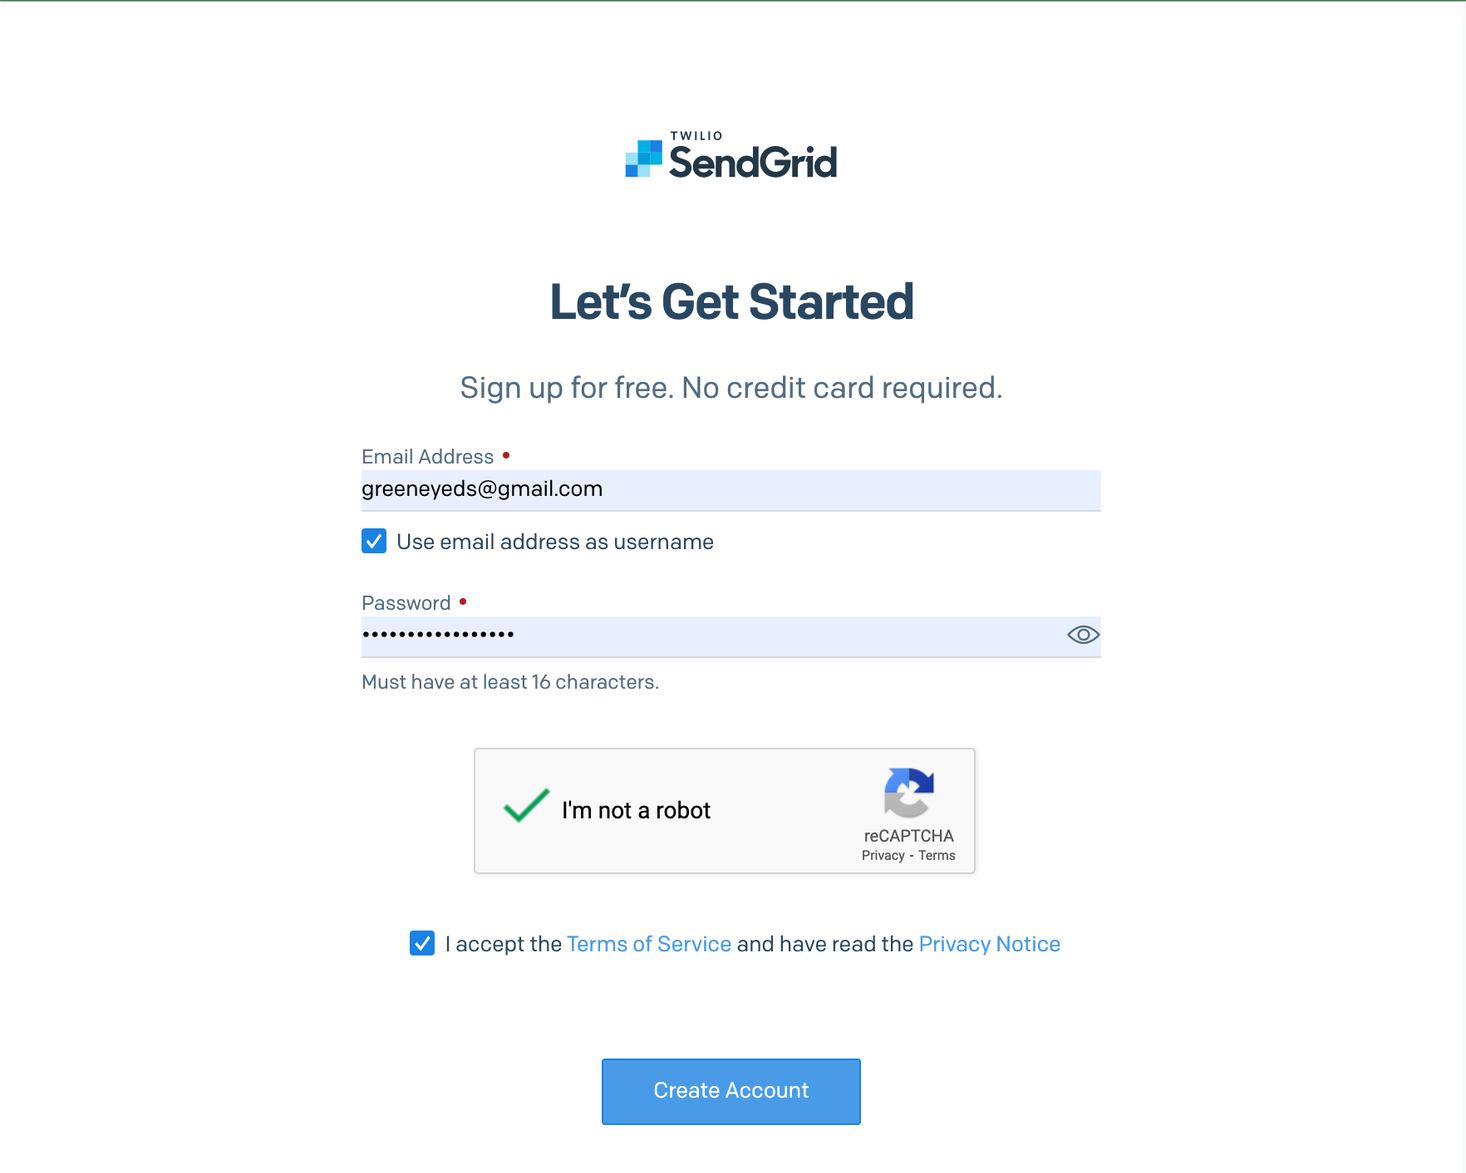
2. Verify your email address to activate the account.
On the free plan, you can send up to 100 emails per day.
3. In SendGrid panel navigate to Settings → API Keys and click Create API Key button.

4. Fill in the API Key Name field (e.g., use your website’s name). Select Full Access to grant the key complete permissions.
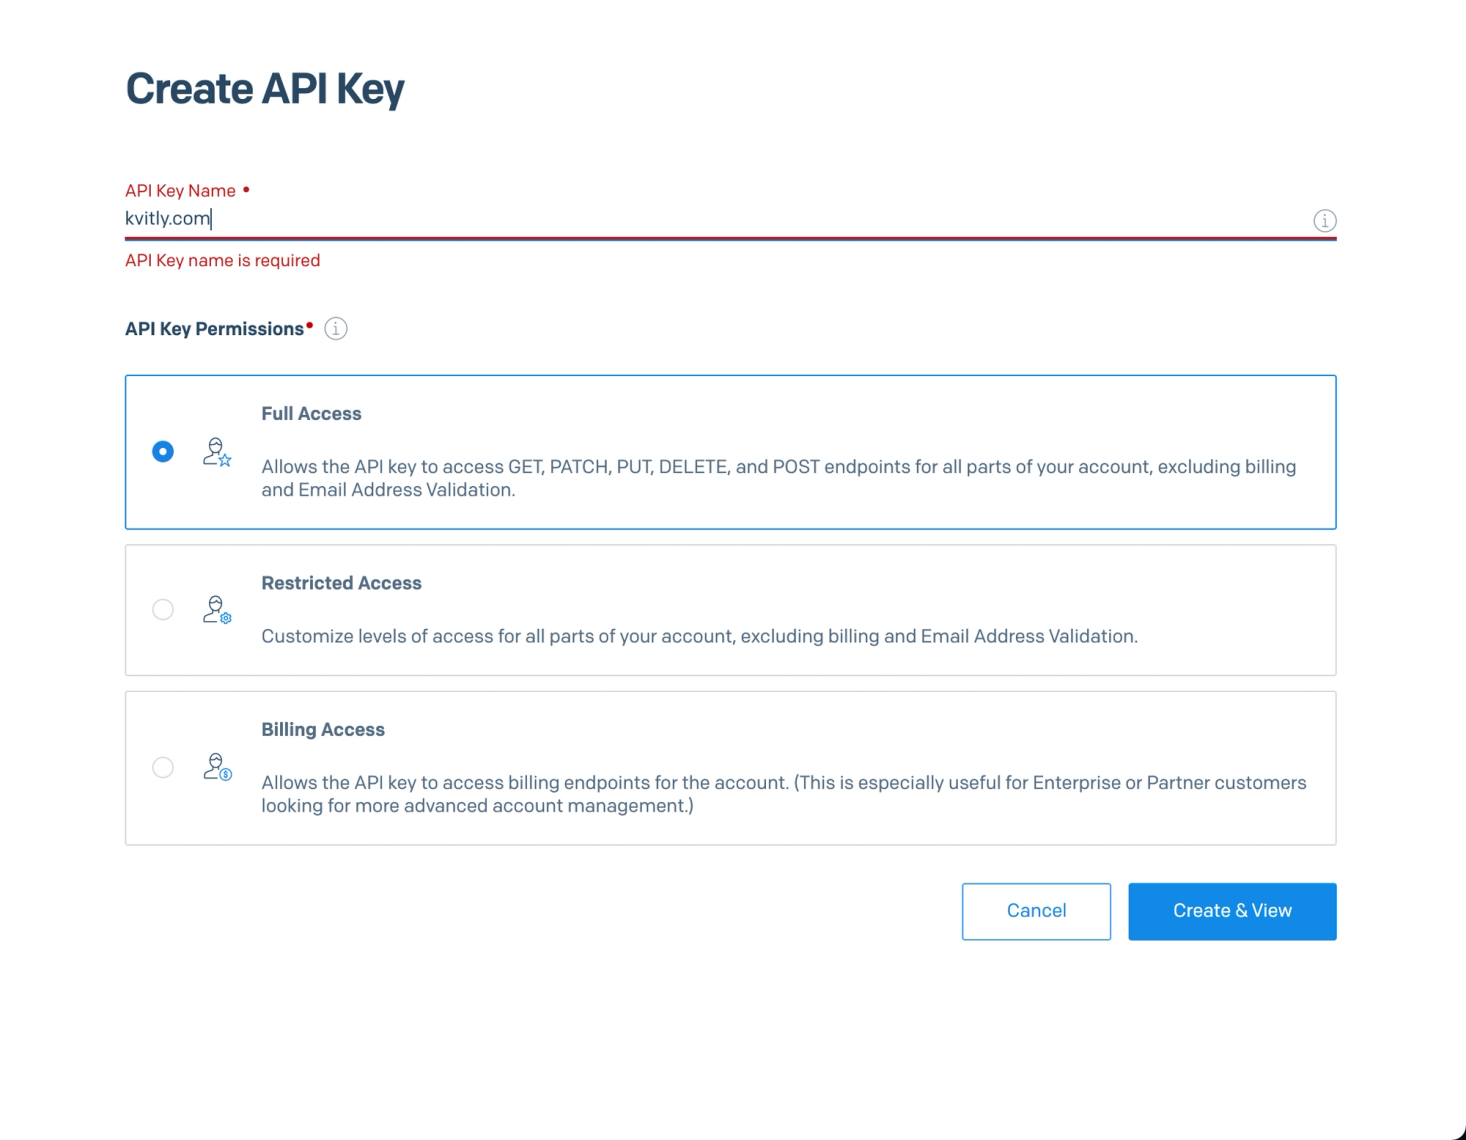
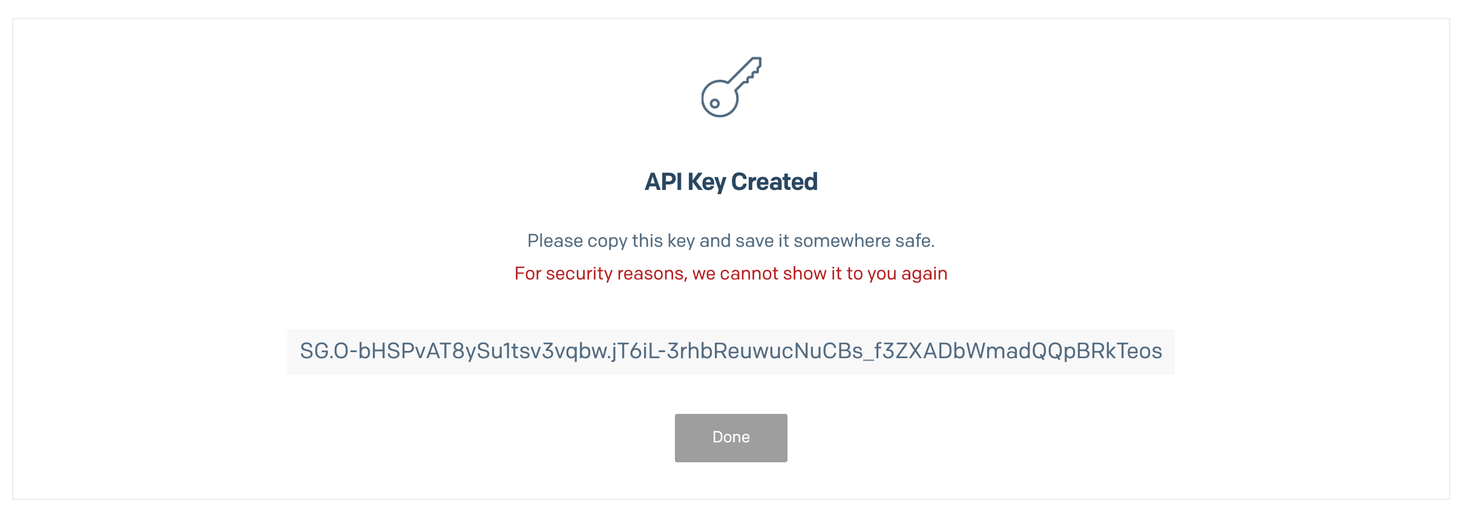
5. Click on Create & View button. Important: Copy and save the API key! It will not be visible again.
Step 2: Configure the SendGrid email template
SendGrid email integration requires you to specify the email template that will be sent. For this, you need to configure this email in SendGrid.
1. Navigate to Marketing → E-mail API → Dynamic Templates.
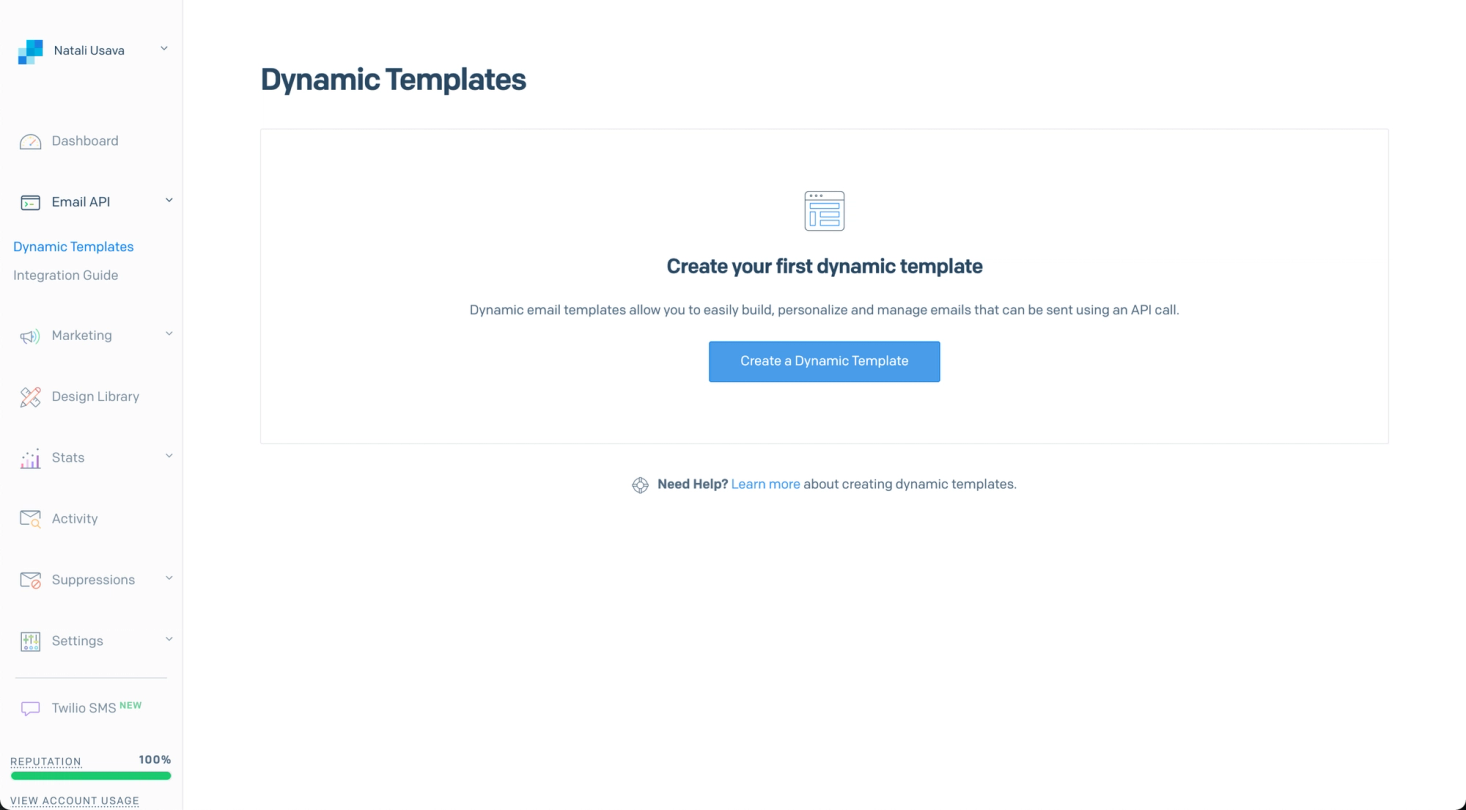
2. Click Create a Dynamic Template button, name your template, and create it.

3. Note the Template ID (e.g., d-8bb32944454c4acb97f0cec37c63a113). You will use this ID in your website’s integration in 🌱kvitly.
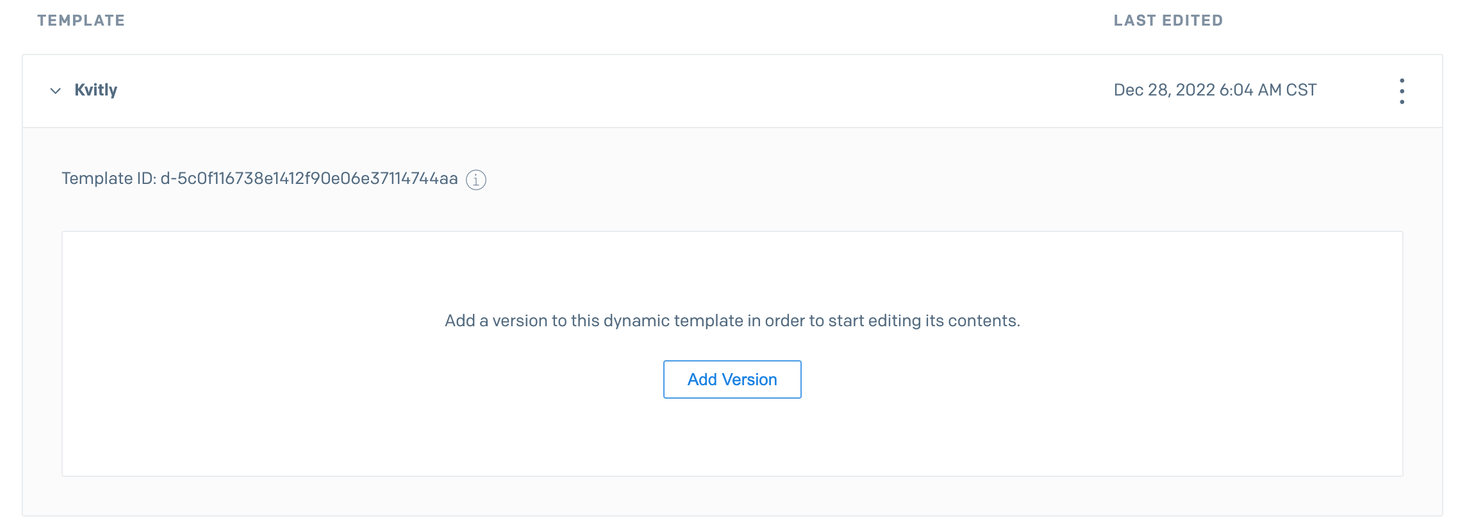
4. Now you need to create the email itself by clicking Add Version. You can: design an email from scratch or use one of SendGrid’s pre-made templates.

Note that you can use variables into the email content (e.g., order details, customer data).
Yay! The template is configured! Now you need to enable in in your 🌱kvitly website integration.
Step 3: Integrate SendGrid Email with your website
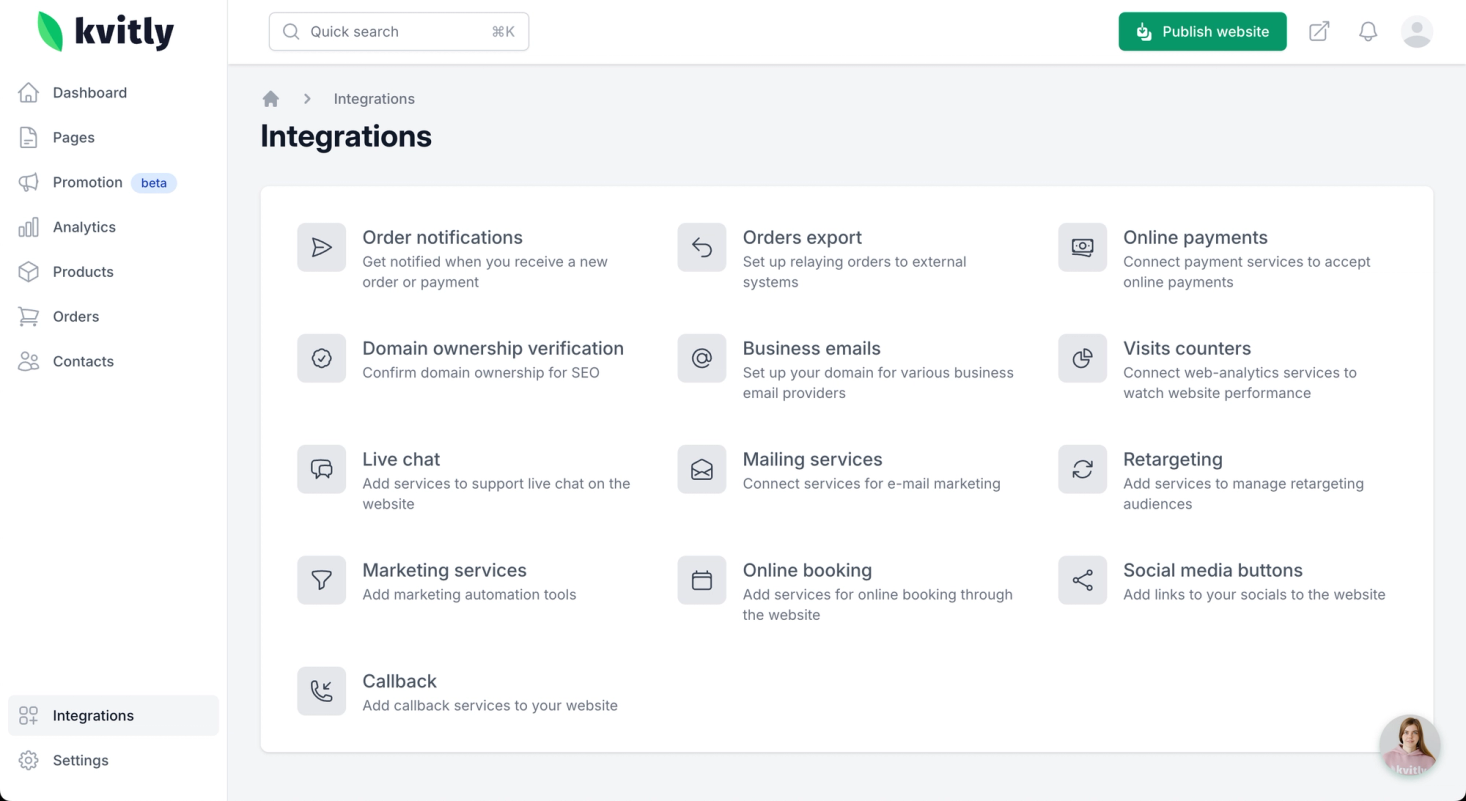
1. In your 🌱kvitly Dashboard navigate to Integrations → Order notifications.
2. Scroll to SendGrid Email integration
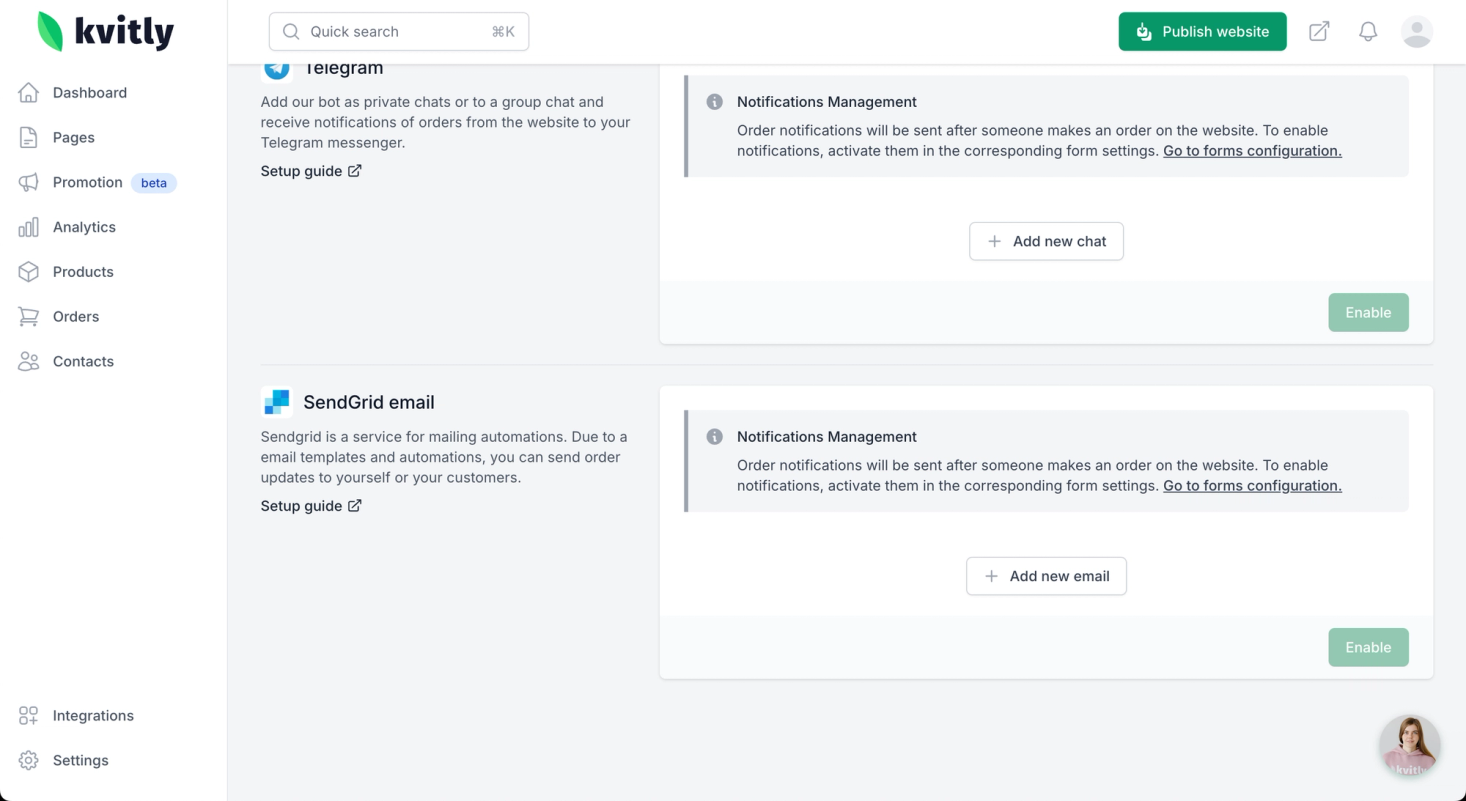
3. Click Add new email and fill out the necessary fields.
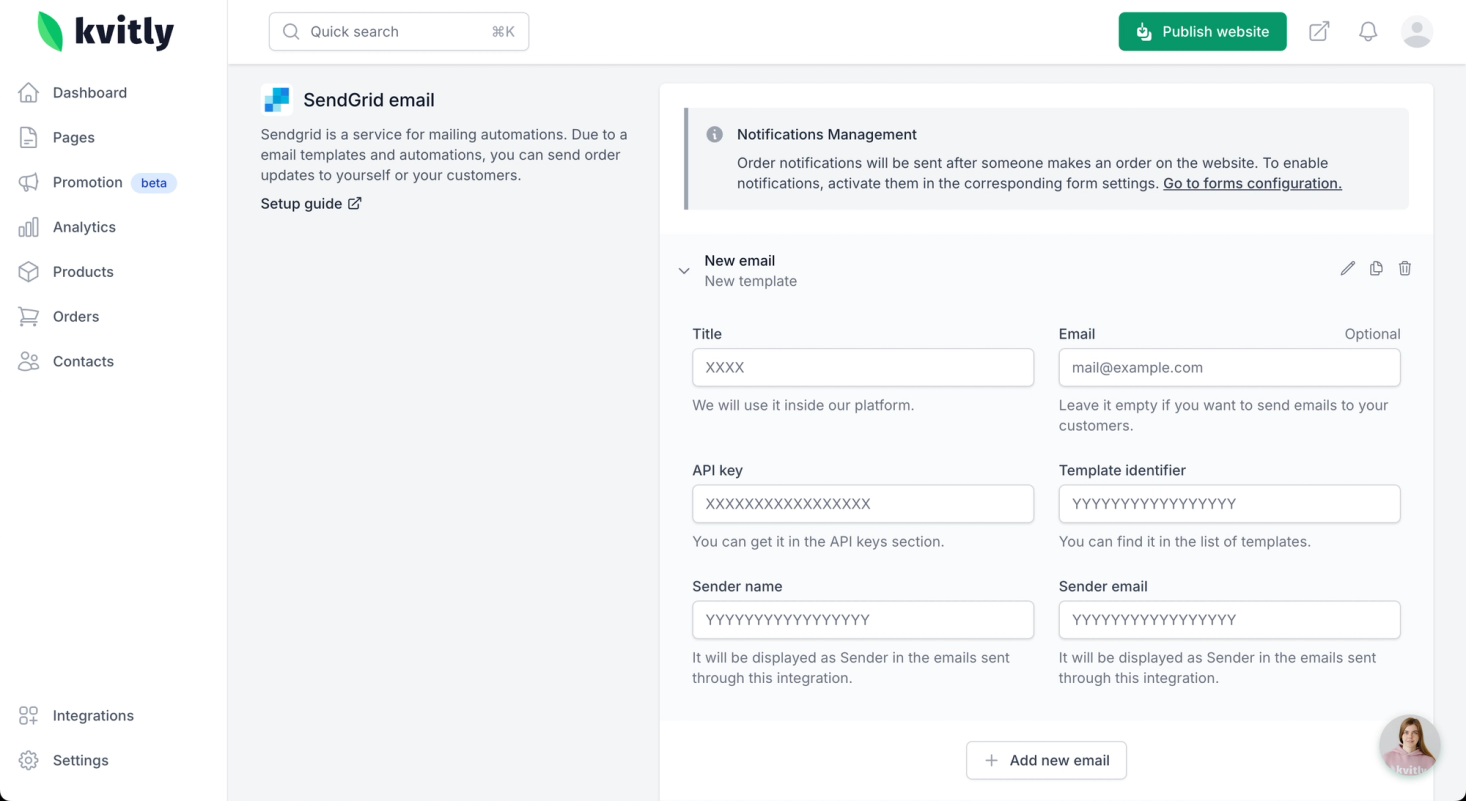
4. Once filled in, enable the integration by clicking Enable button.
Step 4: Set up the notification in the Form settings
1. Navigate to Settings → Forms and create a new form or select an existing one.
2. Make sure the form has the field with type Email and it’s a required field. We need it to capture customers’ emails.
3. In the form settings, select the Automations tab
4. Check the checkboxes of the notifications you want to enable after after order or payment.
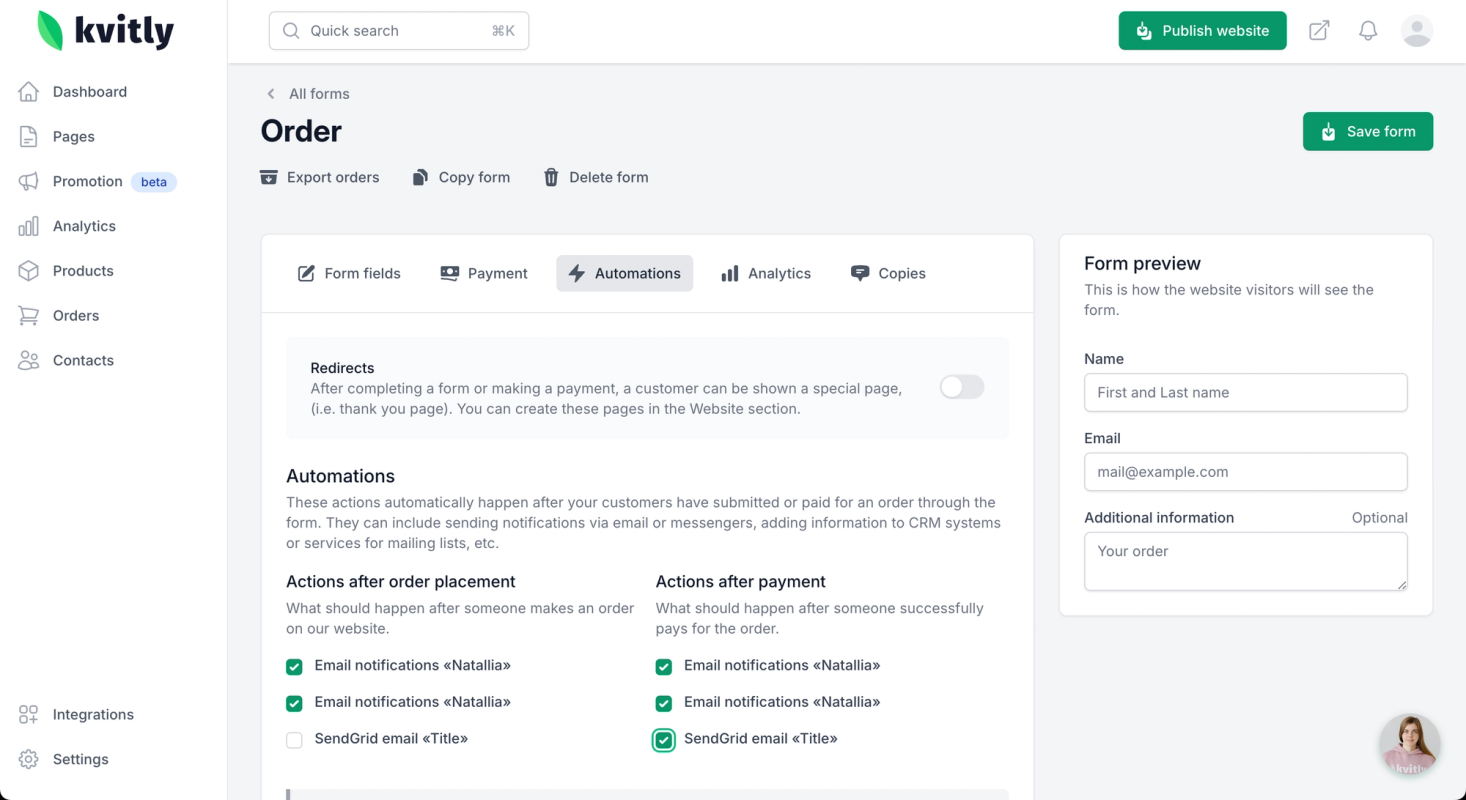
5. Save the form and publish your site.
Done! You have successfully set up email notifications with SendGrid. Your customers will now receive transactional emails.
Still have questions?
Feel free to contact us via chat on our website. We’re online weekdays from 10 AM to 6 PM CET.
Wanna talk to a person?